
Signs of Life Base Locations: Where to Build on Osiris
Choosing a Signs of Life base location: ore access, flat ground, biome hazards, story travel and the best spots for a first or late-game base.
Flat ground, close to copper and iron, a short walk from the Mining Base. Scenery can wait until you have a Blast Furnace.
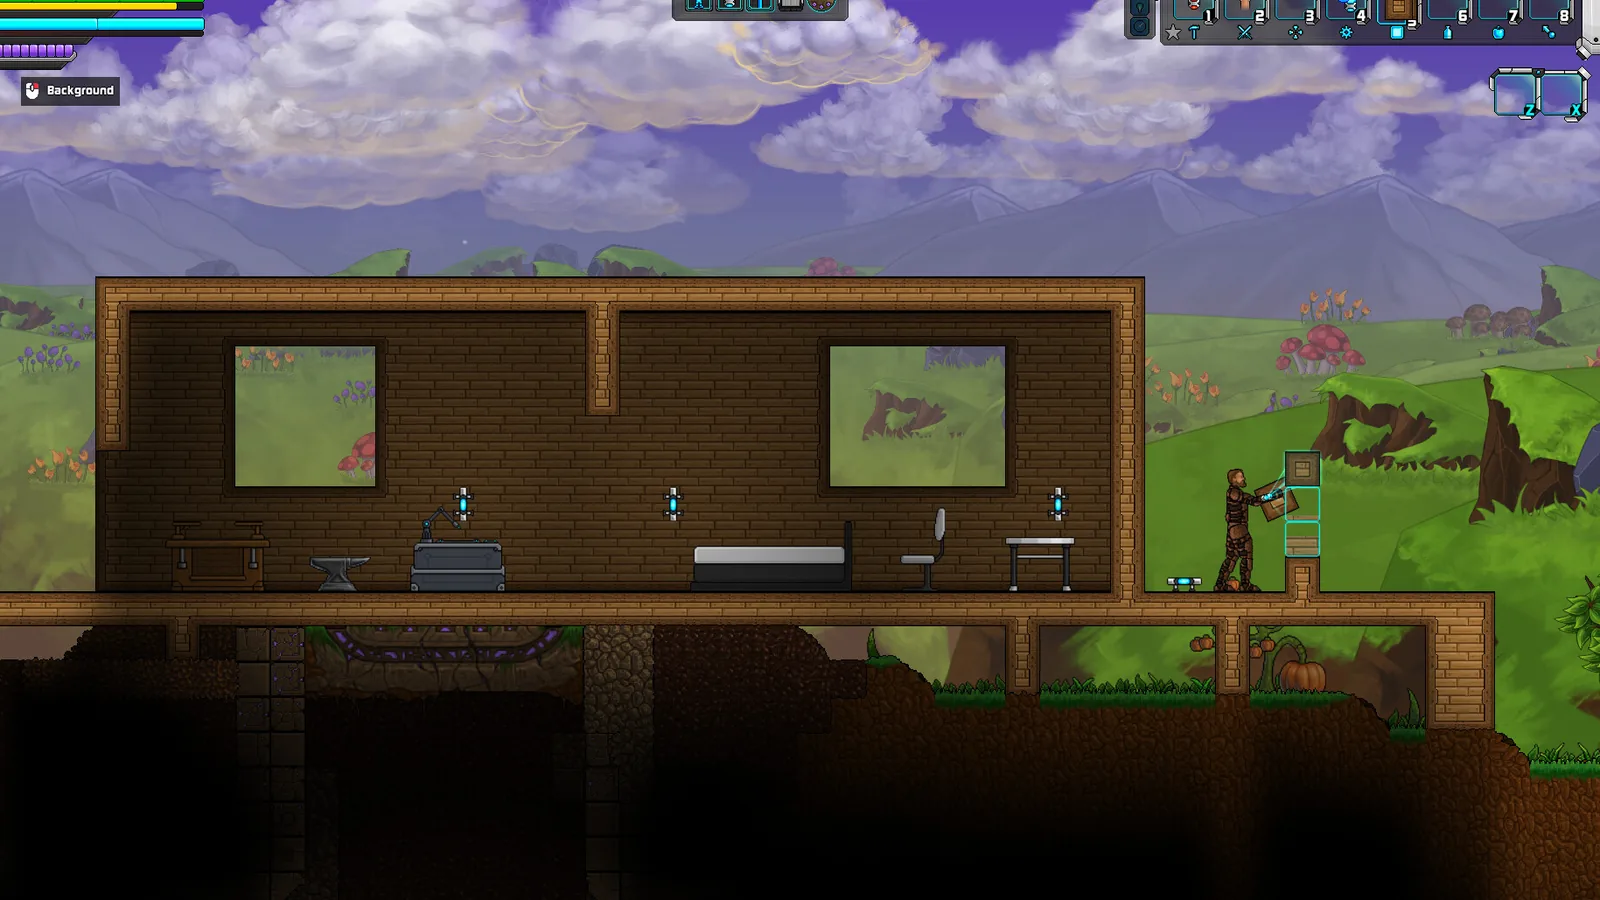
Location is the first major decision in Signs of Life, and it is easy to get wrong. The game generates a large world with varied biomes, caves and hand-built locations, but it does not mark a "build here" zone. Players who pick a beautiful cliffside often spend their first week hauling ore up a slope.
This guide gives you a decision framework rather than a single map coordinate. Worlds are procedurally generated, so the exact spot changes, but the criteria do not.
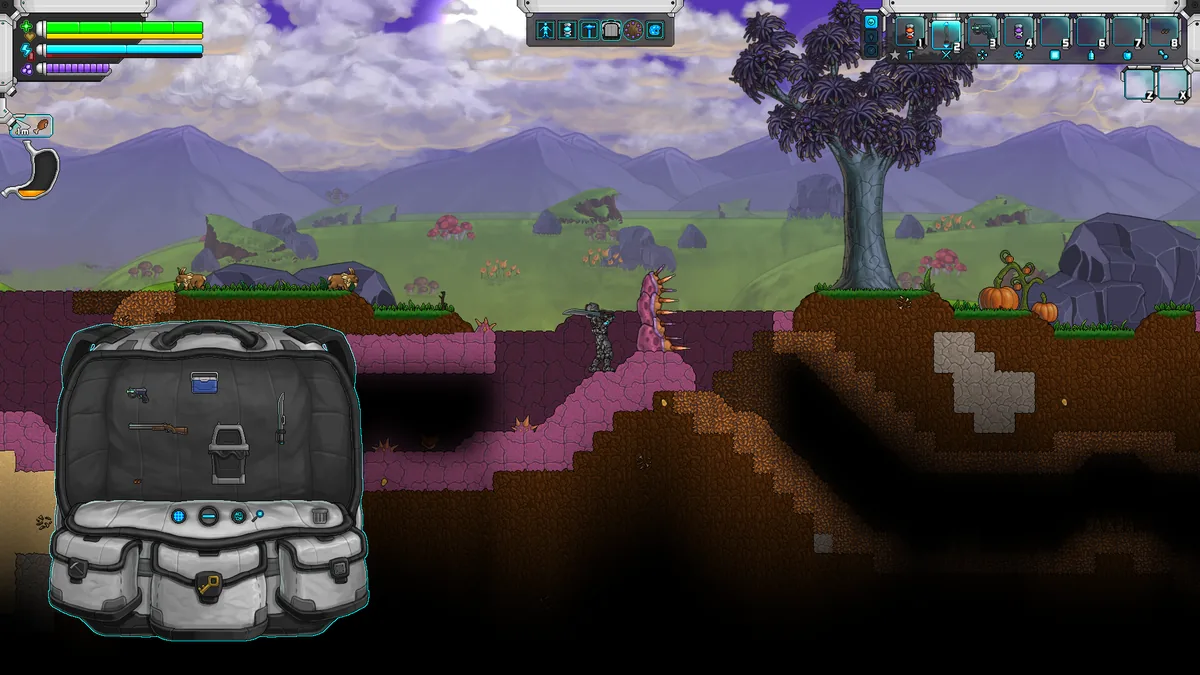
Flat ground near resources beats a scenic but isolated spot.
The four criteria
1. Ore access
Your first base should be within a short walk of copper, tin, coal and iron. The Mining Base near the spawn point is a natural anchor because the opening area is designed to feed those materials. Build within sight of it or just downhill from it.
Later bases can specialise. A deep base near iron, silver and gold saves trips, but it needs light, power and a safe route to the surface. Do not build a deep base before you have the equipment to survive the trip.
2. Flat, buildable ground
Room validation requires a rectangle. Slopes and uneven floors make it harder to place walls, doors and background layers. Look for a flat shelf, a natural cave floor or a ruined structure with a clear interior.
You can flatten terrain, but every block you remove is time you did not spend crafting. A modest flat area is worth more than a dramatic view.
3. Travel distance
The story sends you to labs, ruins, the deep dungeon and Xenoid territory. A base in the middle of the map reduces travel time to everything. A base in a corner is convenient for one biome and miserable for the rest.
The MEG map helps here. Explore a ring around the spawn before committing. If the terrain opens in two directions, build at the junction rather than at the end of one branch.
4. Hazard exposure
Surface biomes have different enemies and weather. Early on, avoid building in a zone where every trip outside triggers a fight. A base is supposed to be a place to recover, not another arena.
Caves are safer from surface enemies but darker and more prone to ambushes from below. If you build underground, light the route and keep a second exit.
The three base stages
Stage 1: the starter workshop
Build beside the Mining Base. A single valid room with a work table, furnace, bed and chests is enough. This base exists to get you through the first ten hours, not to last forever.
Advantages: safe, close to early ore, easy to find, near the grabber and the first datapads.
Disadvantages: limited space, not near mid-game ores, and the area may feel crowded once you expand.
Stage 2: the production base
Once you have a Blast Furnace and reliable weapons, move to a larger flat area near a cave entrance. This base holds specialised rooms: smelting, crafting, storage and eventually power.
Choose a site with room to expand in two directions. You will add rooms faster than you expect. A site with a cliff on one side and a cave on the other is ideal: natural walls plus a dungeon entrance.
Stage 3: the colony site
The post-game colony needs a Pioneer Station and a powered operations computer. These generate on new worlds after the main story, so the colony site is usually the Pioneer Station itself or a flat area beside it. Do not plan your entire playthrough around a colony location you have not reached yet.
If you are starting a fresh 1.0 world specifically for colony management, choose a medium or large world so the station has room to generate. A small world is still viable, but space is tighter.
Surface vs underground
Surface bases are easier to light, easier to defend and easier to expand. They are exposed to weather and roaming enemies.
Underground bases are hidden and close to ore. They are dark, harder to ventilate visually and more vulnerable to cave enemies. They also make elevator or stair access a project of its own.
For a first base, surface wins. For a mining outpost, underground wins. Many players end up with both: a surface workshop and a small underground cache near a deep ore field.
Biome considerations
Different biomes change the cost of living:
- Grassland and forest: wood, plant fiber, animals and open ground. The easiest start.
- Desert and dry terrain: less cover, different enemies, good stone and ore exposure.
- Purple alien terrain: striking visuals, Xenoid presence and late-game materials. Not a first base.
- Caves: dense ore, low light, close quarters.
- Ruins and labs: ready-made walls, but often occupied and hard to modify.
The biomes guide→ covers each zone's resources and dangers.
Co-op location rules
In co-op, the host's world is the base. Choose a location that works for the whole group:
- Near the spawn so new players can reach it.
- Large enough for two or three rooms without stacking stations.
- With a clear entrance so a returning player does not get lost.
- Away from the host's bed unless you want respawns in the workshop.
If one player insists on a remote base, build a small forward camp instead of moving the main base. Two small bases are easier to manage than one sprawling one.
Signs you picked a bad spot
- You spend more than a minute walking to the nearest iron.
- The ground is too uneven to place a 8 by 4 room without major digging.
- You cannot find the entrance after dark.
- Every resource run passes through a dangerous spawn.
- You have no room to add a second room.
If three of these are true, move. The cost of moving early is small; the cost of moving after you build a Blast Furnace is large.
A practical first-base checklist
- Flat area at least 12 by 8 tiles.
- Within a short walk of copper, tin, coal and iron.
- Near the Mining Base or another landmark.
- One natural wall or cliff to reduce building.
- Room for a second and third room.
- A clear path to the surface and to a cave.
- Not directly on a story location you may need to revisit.
Once the site is chosen, the base building guide→ covers the room rules and station layout. The resources guide→ explains which ores are worth a dedicated outpost.
Official source: Signs of Life world generation and Update 27 colony requirements, official wiki and Steam store description, checked 10 November 2026.
Sources and further reading
- Signs of Life on Steam ↗ - world and base building overview
- Update 27 patch notes ↗ - colony station and room requirements
- Official wiki ↗ - structures and biome reference
- Official Signs of Life site ↗ - world overview
FAQ
Where should I build my first base in Signs of Life?
Near the Mining Base, on flat ground, within a short walk of copper, tin, coal and iron. Keep it small and expand later.
Can I move my base later?
Yes. You can dismantle or abandon a base and build elsewhere. Moving early is cheap; moving after a large production build is expensive.
Is an underground base better?
It is better for ore access and concealment, worse for light and escape routes. Use it as an outpost rather than a first home.
Where is the colony base?
The colony layer centres on a Pioneer Station with a powered operations computer, generated on new worlds after the main story.
Related Signs of Life Guides
How base building works in Signs of Life: valid room sizes, walls, doors, lighting, station layout and the mistakes that waste materials.
A tour of Signs of Life biomes: grasslands, purple alien terrain, caves, ruins, Xenoid cities and the late-game New Earth areas.
Where to find every major Signs of Life resource: copper, iron, coal, titanium, Xenohide, plant fiber and the materials behind each crafting tier.
Every major Signs of Life 1.0 change: the ending, Xenoid cities, colony management, rebalanced gear, controls and co-op fixes.
The Signs of Life achievement list with global unlock rates, the gemologist chain, the joke achievements and a practical completion route.
How the Signs of Life alien language works: scan inscriptions, build understanding, unlock Xenoid dialogue and extract seven archive records with AGIS.
More Signs of Life Guides
How armor works in Signs of Life, the best early and late sets, Ghost Hide and Energy Plate bonuses, mining suits and co-op gear priorities.
Automate a Signs of Life base with turrets, Pneumail shared storage, drone accessories and post-game colonist jobs, without wasting power.
Practical Signs of Life tips for new players: scan everything, manage stamina, build one good room, and avoid the early base traps.
The major Signs of Life boss fights, the order to attempt them, gear checks and arena tips, plus a pointer to the Buff Mechington Mk2 strategy.
How to beat Buff Mechington Mk2 in Signs of Life: the glowing weak points, head-tail-chest order, the three-second chest window and co-op tactics.
How Signs of Life co-op works: Steam friend hosting, drop-in play, character transfer, shared storage, PvP settings and role splits for two players.
How the Signs of Life colony works: Pioneer Station computer, room requirements, colonist jobs, Pneumail storage and new-world requirements.
A Signs of Life crafting guide: work table tiers, furnace upgrades, hammer requirements, recipe chains and how to organise production.