
Signs of Life Bosses: Order, Arenas and Preparation
The major Signs of Life boss fights, the order to attempt them, gear checks and arena tips, plus a pointer to the Buff Mechington Mk2 strategy.
Most fights reward preparation more than reflex. Bring the right weapon, clear the arena and learn the weak point before you commit.
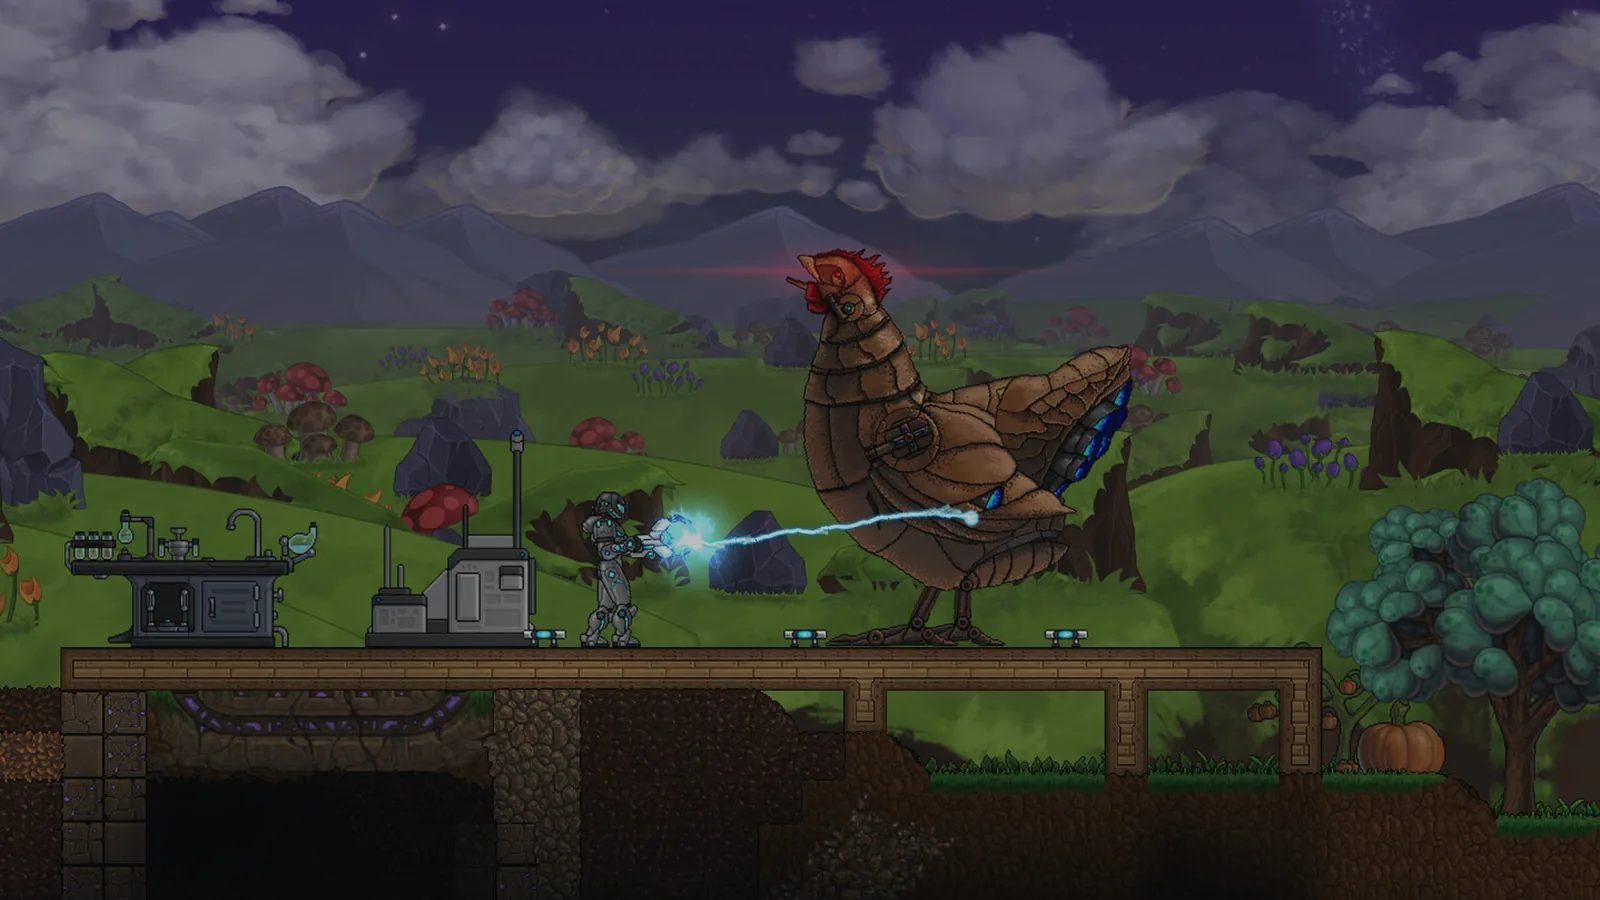
Signs of Life does not line up its bosses in a numbered menu. Some are story gates, some are optional challenges, and some are wandering enemies that become a boss fight when you are undergeared. The community's "boss order" is a practical route, not an official progression track.
This guide lists the major fights players ask about, the gear you need, and the arena habits that apply to all of them.
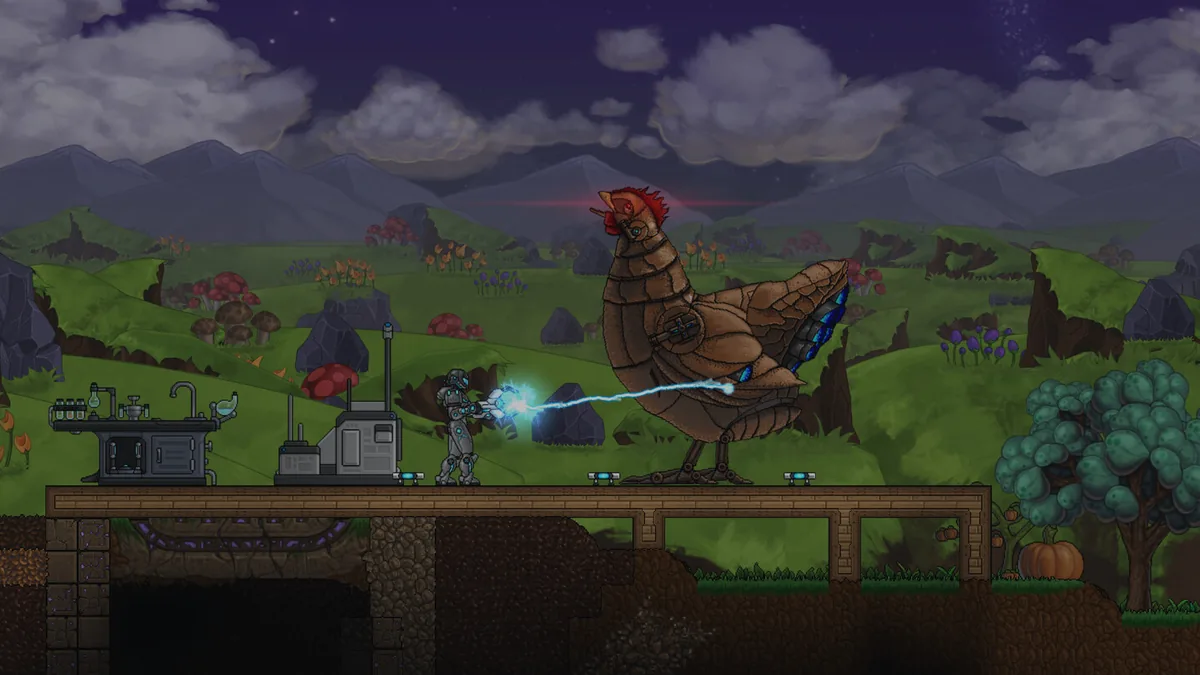
Buff Mechington is the game's signature gear check.
The major fights
Buff Mechington
Buff Mechington is the giant machine chicken that appears in the game's marketing and in the old achievement list. It is a mid-game gear check: slow, heavily armoured and full of exposed weak points if you know where to look.
The fight teaches the core boss rule: do not hit the armour. Wait for the attack that exposes a glowing section, then hit that section. The regular Buff Mechington is a warm-up for the upgraded version.
Buff Mechington Mk2
The Mk2 is the hard version. It has 9,999,999 health, 50 melee damage and near-impervious armour with glowing green weak points. Patch notes mention a three-second fully open weak-point window after its chest attack.
The full strategy has its own page: Buff Mechington Mk2→. The short version: head first, then tail, then chest, and only attack when the green weak point is exposed.
Xenostone Colossus
The Xenostone Colossus is a late-game stone construct. Update 26 fixed a soft-lock associated with it, which tells you it is a scripted encounter rather than a random elite.
Bring a weapon that can handle armoured targets and clear the arena before you start. If the fight bugs, reload a save from before the encounter.
Ant Queen
The Ant Queen is the centre of the ant ecology. Update 25 reworked the ant biomes, including larval pupas and eggs in the Ooky mud caves. The Queen is a summoner-style fight: deal with the adds or get surrounded.
Bring area damage or a corridor to funnel the ants. Do not fight in the open nursery.
Cave Wyrm
The Cave Wyrm is a deep-cave predator. It is not a story boss, but it is a gear check for anyone exploring the lower caves. Fight it in a tunnel where it cannot circle you, and keep a light source behind you so you can see the wind-up.
Crawler Medusa
Crawler Medusa is one of the Crawler variants in the official creature list. It is a dangerous cave enemy rather than a set-piece boss. Treat it as a mini-boss: clear the room, keep your distance and target the exposed body.
A practical order
- Buff Mechington - learn weak-point combat.
- Cave Wyrm and Crawler Medusa - optional deep-cave gear checks.
- Ant Queen - summoner fight, needs area control.
- Xenostone Colossus - late-game construct.
- Buff Mechington Mk2 - the hard optional fight.
- The final sequence - not a single boss, but a story gauntlet.
This order is based on gear progression, not official gating. You can attempt the Mk2 early if you enjoy pain.
Gear checks
Weapons
Bring a ranged weapon and a melee backup. Armoured bosses punish a single damage type, and ammo runs out. The weapons guide→ covers the progression.
Armour
Use the best set you can craft, with an eye on the damage type. Ghost Hide reflects two damage; Energy Plate provides a low-tier force field that recharges over time. The armor guide→ explains the sets.
Food and healing
Food has its own HUD slot in 1.0. Fill it before the fight and carry spare meals. Healing items are not optional in a long boss fight.
Light
Several bosses live in caves or ruins. A dark arena is a dead arena. Bring multiple light sources.
Arena habits
- Clear the adds before the boss. A clean arena gives you room to dodge.
- Fight with your back to a wall, not a pit. Falling is a loss condition.
- Learn one attack at a time. Do not try to memorise the whole pattern on the first pull.
- Attack the weak point, not the armour. This is the core rule for machine bosses.
- Leave when the fight is not working. Gear up and return; the boss does not level with you.
Co-op boss fights
In co-op, split roles:
- One player holds aggro and calls the weak-point window.
- One player focuses damage on the exposed section.
- Someone watches the adds.
- Everyone brings their own food and ammo.
Do not both attack the armour. The fight will take forever and you will blame the game.
What the game does not tell you
The official wiki lists boss health and melee damage for some creatures, but not a full attack table for every fight. Community testing fills the gaps. When a guide gives a specific strategy, check the date: 1.0 changed several gear behaviours and fixed at least one boss soft-lock.
The Buff Mechington Mk2 page→ is the deep dive for the hardest fight. The ending guide→ covers the final sequence.
Official source: Official wiki creature data, Steam store page, Updates 25-27 patch notes and Steam community reports, checked 10 November 2026. Community strategies are labelled as such.
Sources and further reading
- Official wiki creatures ↗ - boss and creature entries
- Update 26 patch notes ↗ - Xenostone Colossus soft-lock fix
- Update 25 patch notes ↗ - ant ecology rework
- Steam community discussion ↗ - Buff Mechington Mk2 strategy
FAQ
How many bosses are in Signs of Life?
There is no official boss count. The major fights include Buff Mechington, Buff Mechington Mk2, Xenostone Colossus, Ant Queen and several deep-cave mini-bosses.
What is the hardest boss?
Buff Mechington Mk2 is the hardest optional fight, with 9,999,999 health and a short weak-point window.
Do I need to kill every boss?
No. Some are optional gear checks. The story route requires the late-game sequence, not every optional fight.
Can I fight bosses in co-op?
Yes. Split aggro and damage roles, and bring your own supplies.
Related Signs of Life Guides
How to beat Buff Mechington Mk2 in Signs of Life: the glowing weak points, head-tail-chest order, the three-second chest window and co-op tactics.
A practical Signs of Life weapons guide: early pistols, mid-game rifles and shotguns, energy weapons, melee tiers, ammo and the best picks for bosses.
How armor works in Signs of Life, the best early and late sets, Ghost Hide and Energy Plate bonuses, mining suits and co-op gear priorities.
Every major Signs of Life 1.0 change: the ending, Xenoid cities, colony management, rebalanced gear, controls and co-op fixes.
The Signs of Life achievement list with global unlock rates, the gemologist chain, the joke achievements and a practical completion route.
How the Signs of Life alien language works: scan inscriptions, build understanding, unlock Xenoid dialogue and extract seven archive records with AGIS.
More Signs of Life Guides
Automate a Signs of Life base with turrets, Pneumail shared storage, drone accessories and post-game colonist jobs, without wasting power.
How base building works in Signs of Life: valid room sizes, walls, doors, lighting, station layout and the mistakes that waste materials.
Choosing a Signs of Life base location: ore access, flat ground, biome hazards, story travel and the best spots for a first or late-game base.
Practical Signs of Life tips for new players: scan everything, manage stamina, build one good room, and avoid the early base traps.
A tour of Signs of Life biomes: grasslands, purple alien terrain, caves, ruins, Xenoid cities and the late-game New Earth areas.
How Signs of Life co-op works: Steam friend hosting, drop-in play, character transfer, shared storage, PvP settings and role splits for two players.
How the Signs of Life colony works: Pioneer Station computer, room requirements, colonist jobs, Pneumail storage and new-world requirements.
A Signs of Life crafting guide: work table tiers, furnace upgrades, hammer requirements, recipe chains and how to organise production.