
Signs of Life Crafting Guide: Stations, Recipes and Chains
A Signs of Life crafting guide: work table tiers, furnace upgrades, hammer requirements, recipe chains and how to organise production.
Better work tables and furnaces unlock recipes that make every later step cheaper. A Blast Furnace is one of the best early investments.
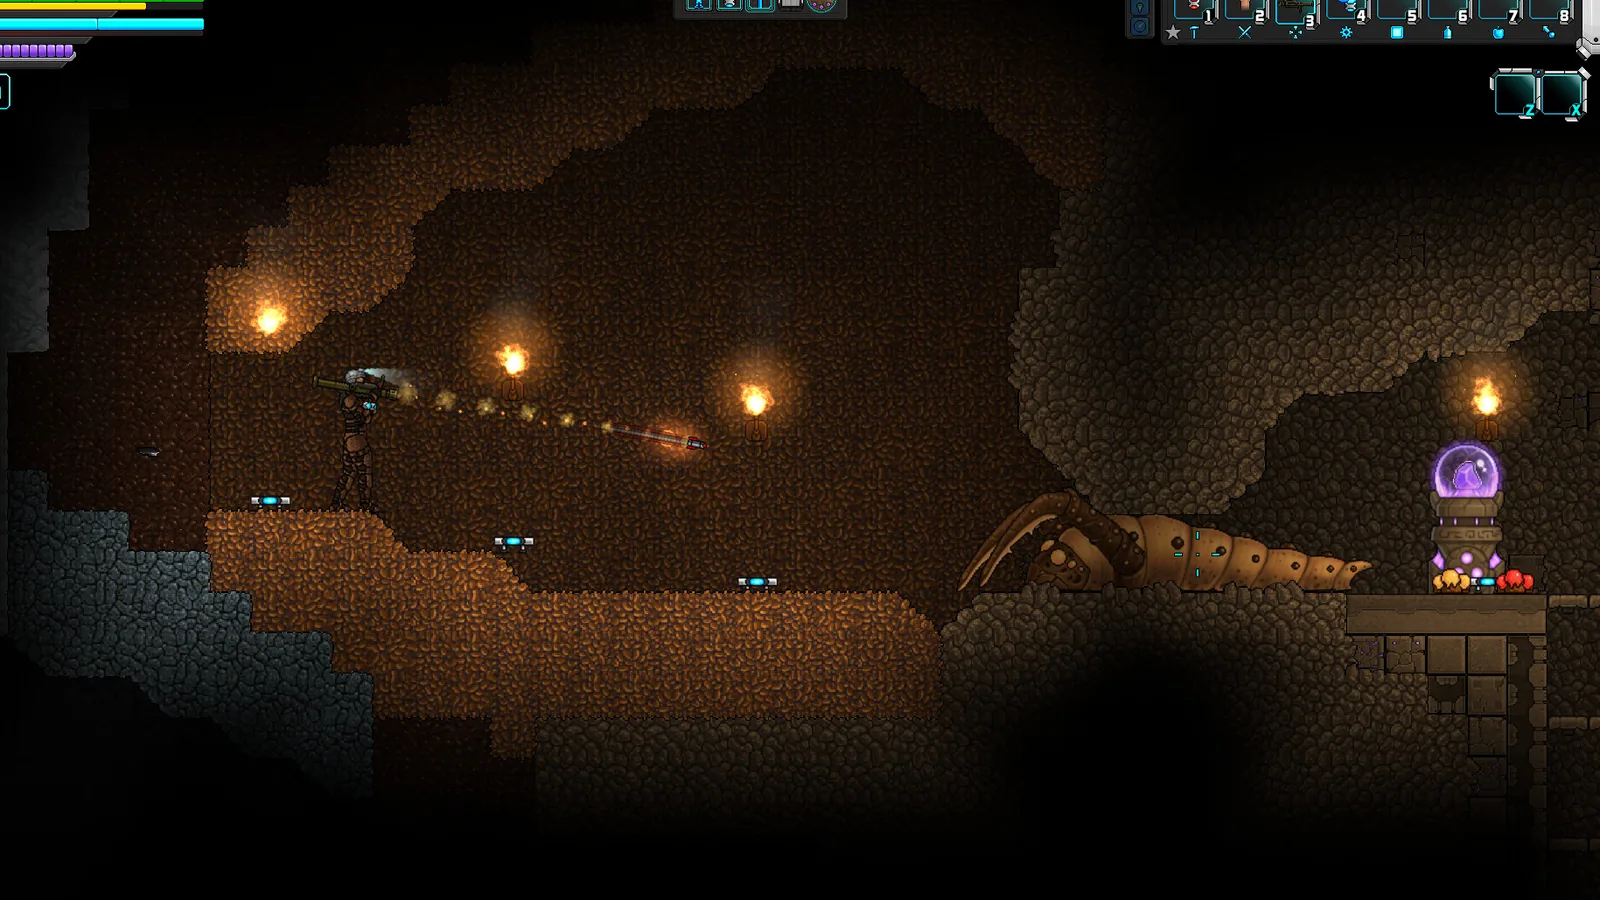
Signs of Life has more than 1,200 recipes on the official wiki. That number is intimidating until you realise most of them are variations on a small number of production chains. Once you understand the station ladder and the hammer requirements, the crafting menu stops being a wall of icons.
This guide covers the stations you actually need, the order to build them, and the material bottlenecks that catch new players.
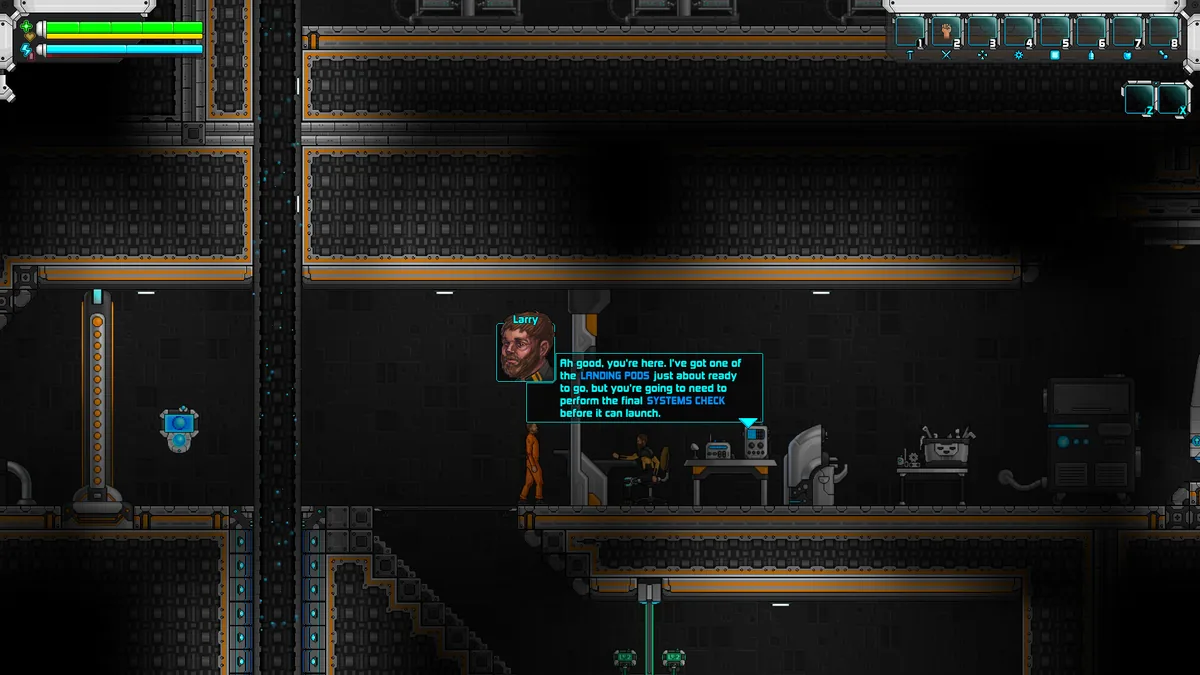
The crafting chain moves from workbench to specialist stations.
The station ladder
Basic Work Table
The first station. It unlocks basic tools, wooden structures and simple gear. Build it before you explore beyond the starting area.
Upgrade it as soon as the next tier is available. A better work table is not a luxury; it unlocks recipes that reduce the cost of everything else.
Campfire
Food, light and a respawn point in the field. A Campfire is cheap and portable enough to place at a mining camp. Do not rely on it for serious cooking; the Brick Oven is the dedicated food station.
Draft Furnace
Your first smelter. It turns ore into ingots and is required for most metal tools. Place it beside your ore chest so you are not carrying raw ore across the base.
Blast Furnace
The Blast Furnace is the first major production upgrade. It costs 12 iron ingots and smelts twice as fast as a Draft Furnace. Build it as soon as you can mine iron consistently. The time saved over a full playthrough is enormous.
The official wiki lists the Blast Furnace under Projects and Metal Refining Structures. If your crafting menu does not show it, check that you have the required station and materials.
Brick Oven
The dedicated cooking station. Food has its own HUD slot in 1.0, so cooking is part of combat preparation rather than an afterthought. Use the oven for meals that restore more than raw ingredients.
Chemistry Bench and Lab
Chemistry turns raw materials into advanced components: acids, reagents and the inputs for ammunition and electronics. The Bench is the earlier tier; the Lab unlocks more complex recipes. Build them when you start making advanced ammo or power components.
Carbon Nanotube Processor
A late-game station for carbon nanotubes, one of the materials used in high-end gear and devices. You do not need it in the first week. Build it when a recipe you want explicitly asks for nanotubes.
Ammunition Press
Ammunition is a production chain, not a shop purchase. The Press lets you turn ingots and chemicals into rounds. If you use firearms as your main weapon, build it before a long expedition.
Battery Charger
The Battery Charger refills batteries and power cells. It becomes important when you rely on energy weapons or wireless batteries. Pair it with your power room.
The hammer rule
Several recipes require a hammer as an ingredient. Two confirmed examples:
- Iron Hammer: 2 iron ingots.
- Steel Hammer: 1 steel ingot.
If you do not have the hammer, the recipe does not appear or cannot be completed. This is a common source of confusion: players see a recipe in a guide, open the crafting menu, and find nothing.
Craft the hammer tier before you need it. Iron comes before steel, and steel comes before the late-game stations. Keep the old hammer even after you upgrade; some recipes may still require the lower tier.
The core production chains
Metal
Ore -> ingot -> tool or part -> station or gear.
Copper and tin make bronze. Iron makes structural parts and combat gear. Steel is the mid-game upgrade. Later ores such as silver, gold, lead, platinum, aluminium, titanium and bornite feed specialised recipes.
Do not smelt every ore into ingots immediately. Some recipes use raw ore, and ingots are heavier to store. Smelt what you need for the next project.
Organics
Plant fiber -> rope and fabric. Hide -> leather and armour. Bone -> tools and decorations. Food -> meals.
Organics are easy to ignore until a recipe demands them. Keep a chest for fiber, hide and bone, and harvest animals you pass rather than making dedicated hunting trips.
Chemicals
Chemistry inputs come from ores, plants and animal drops. The output feeds ammunition, medicine and advanced components. This chain is the reason a Chemistry Bench belongs near your storage room, not in a separate building.
Alien materials
Xenohide, Xenoid Alloy and other alien materials come from Xenoid creatures and ruins. They are late-game inputs. Do not sell them early; you will need them for the best gear.
Workflow layout
A production base works best when the rooms follow the chain:
- Ore room: raw ore, stone and coal.
- Smelting room: Draft Furnace, then Blast Furnace.
- Crafting room: work tables, tools and gear.
- Chemistry room: Bench, Lab and ammunition.
- Storage room: finished goods and expedition supplies.
You do not need five separate rooms. A single large workshop with clear zones works for most of the game. The important thing is that each station is next to the materials it consumes.
Co-op crafting
In co-op, crafting is where shared storage breaks down. One player empties the iron chest for a sword, the other needs iron for ammunition, and suddenly the base has no ingots.
Agree on rules:
- Raw materials are shared; finished gear is personal.
- One player owns the smelting queue.
- Ammunition is produced in batches, not on demand.
- Label chests by production stage.
- Use Pneumail for colony output, not for personal gear.
The co-op guide→ covers roles in more detail.
What to craft first
A practical order for a new world:
- Basic Work Table.
- Stone tools and a basic weapon.
- Campfire and bed.
- Draft Furnace.
- Copper or bronze tools.
- Iron Hammer.
- Blast Furnace.
- Chemistry Bench.
- Steel Hammer.
- Ammunition Press or Battery Charger, depending on your build.
This order is not mandatory, but it avoids the common trap of building a fancy base before you can smelt iron efficiently.
Common crafting mistakes
Crafting gear you will replace in an hour. Tools are an investment; decorative gear is not.
Skipping the hammer tier. If a recipe will not appear, check for a hammer requirement.
Smelting all ore into ingots. Some recipes want raw ore, and ingots take storage space.
Building stations far from materials. A furnace across the base is a furnace you stop using.
Ignoring the Blast Furnace. Twice the smelting speed compounds over a long playthrough.
Official source: Official Signs of Life wiki recipe and structure data, Update 25-27 patch notes and Steam store description, checked 10 November 2026.
Sources and further reading
- Official wiki ↗ - recipe, structure and material reference
- Update 25 patch notes ↗ - hammer and fuel cell recipes
- Update 27 patch notes ↗ - colony production jobs
- Steam store page ↗ - crafting overview
FAQ
How many recipes are in Signs of Life?
The official wiki lists more than 1,200 recipes. You will only use a fraction of them in a normal playthrough.
What is the best early crafting station?
The Basic Work Table, followed by a Draft Furnace. Upgrade to a Blast Furnace as soon as you can mine iron.
Why can't I craft an item I have the materials for?
Check for a hammer requirement or a station tier you have not built. Some recipes also require a specific crafting category.
Does crafting work in co-op?
Yes. Stations and storage are shared in the host's world, so agree on who uses which materials.
Related Signs of Life Guides
Where to find every major Signs of Life resource: copper, iron, coal, titanium, Xenohide, plant fiber and the materials behind each crafting tier.
How power works in Signs of Life: wireless batteries, fuel cells, battery chargers, power cores and the colony's powered operations computer.
How base building works in Signs of Life: valid room sizes, walls, doors, lighting, station layout and the mistakes that waste materials.
Every major Signs of Life 1.0 change: the ending, Xenoid cities, colony management, rebalanced gear, controls and co-op fixes.
The Signs of Life achievement list with global unlock rates, the gemologist chain, the joke achievements and a practical completion route.
How the Signs of Life alien language works: scan inscriptions, build understanding, unlock Xenoid dialogue and extract seven archive records with AGIS.
More Signs of Life Guides
How armor works in Signs of Life, the best early and late sets, Ghost Hide and Energy Plate bonuses, mining suits and co-op gear priorities.
Automate a Signs of Life base with turrets, Pneumail shared storage, drone accessories and post-game colonist jobs, without wasting power.
Choosing a Signs of Life base location: ore access, flat ground, biome hazards, story travel and the best spots for a first or late-game base.
Practical Signs of Life tips for new players: scan everything, manage stamina, build one good room, and avoid the early base traps.
A tour of Signs of Life biomes: grasslands, purple alien terrain, caves, ruins, Xenoid cities and the late-game New Earth areas.
The major Signs of Life boss fights, the order to attempt them, gear checks and arena tips, plus a pointer to the Buff Mechington Mk2 strategy.
How to beat Buff Mechington Mk2 in Signs of Life: the glowing weak points, head-tail-chest order, the three-second chest window and co-op tactics.
How Signs of Life co-op works: Steam friend hosting, drop-in play, character transfer, shared storage, PvP settings and role splits for two players.