
Signs of Life Weapons Guide: Best Guns and Melee Picks
A practical Signs of Life weapons guide: early pistols, mid-game rifles and shotguns, energy weapons, melee tiers, ammo and the best picks for bosses.
Signs of Life has 197 weapon entries in the official wiki. Most are sidegrades. The right pick depends on range, ammo and whether the target has armour.
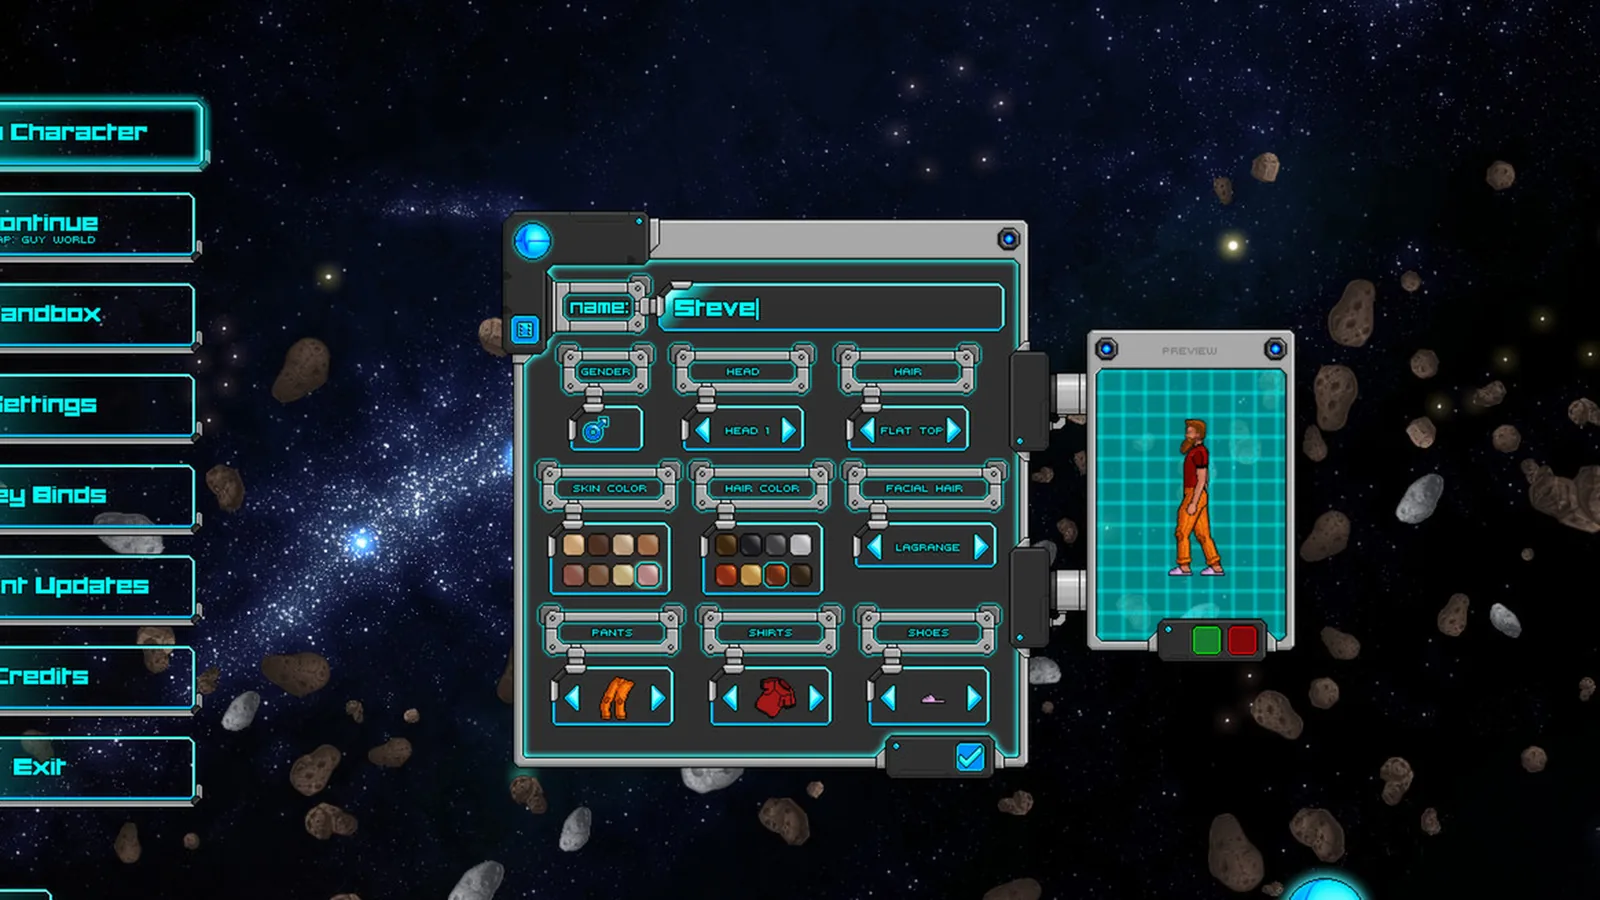
Weapons in Signs of Life are a crafting progression, not a loot lottery. You mine the ore, build the workbench chain and craft the next tier. The game does not publish damage numbers on the wiki, so the useful question is not "which gun has the highest DPS" but "which gun fits this fight and this ammo supply".
This guide covers the classes, the progression path, the standouts and the loadouts worth carrying.
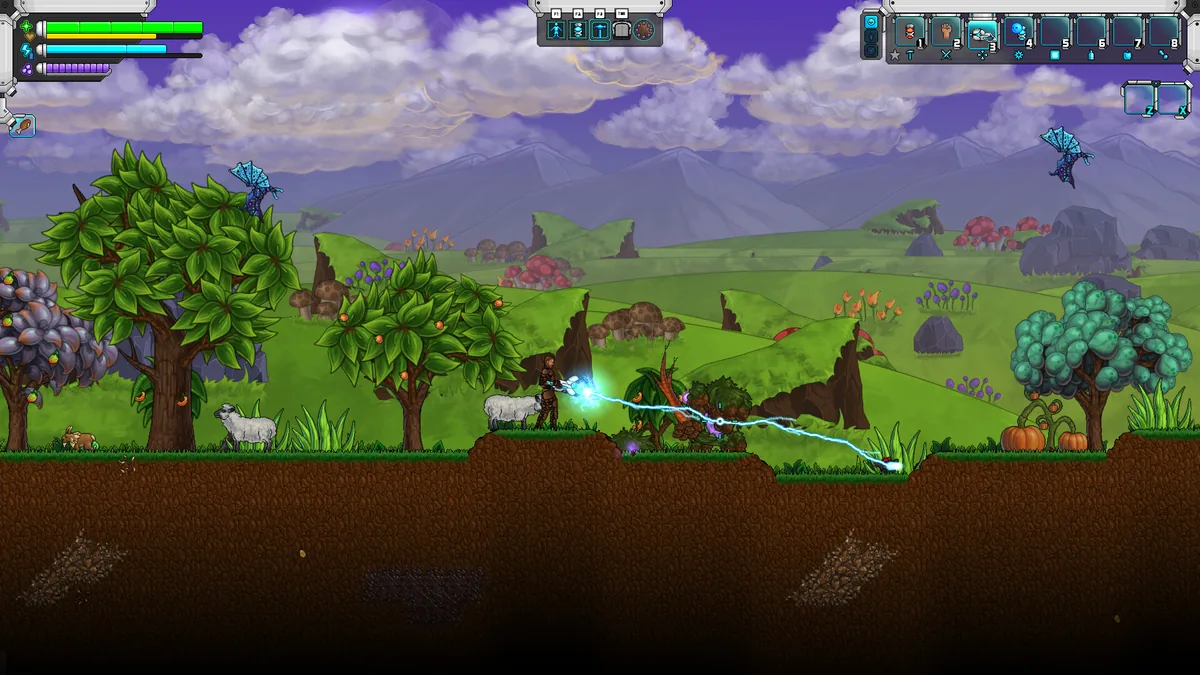
A reliable ranged weapon is the first crafting priority.
The weapon classes
Pistols
Pistols are the early-game workhorses. The 9mm Pistol, C96 and Laser Pistol Mk2 cover the range from starter to late-game sidearm.
Use them for:
- General exploration.
- Backup when the main weapon runs dry.
- Close-range panic situations.
Do not expect a pistol to carry a boss fight. They are reliable, not powerful.
Rifles
Rifles are the core of the mid-game:
- Hunting Rifle: slow, precise, good for pulling single enemies.
- Assault Rifle: the general-purpose automatic.
- Burst Rifle: a three-round burst weapon; 1.0 fixed its burst behaviour.
- Lever Action Rifle: a hard-hitting manual repeater.
- Combat SMG: close-range volume of fire.
The Assault Rifle is the safest all-rounder. The Burst Rifle is better once you can control the burst and have a boss window to fill.
Shotguns
- Combat Shotgun: the general-purpose close-range gun.
- Break Barrel Shotgun: the early double-barrel.
Shotguns are for caves, corridors and anything that gets in your face. They are poor against armoured bosses unless the weak point is close.
Energy weapons
The energy line includes the Energy Pistol, Energy Rifle, Energy Repeater, Energy Slicer, Beam Cannon, Beam Shotgun and Laser Pistol Mk2. They trade ammo logistics for high-end performance.
1.0 fixed several energy behaviours:
- Burst Rifle three-round burst.
- Energy Glove secondary attack.
- Explosive and Ant Goo arrows.
Energy weapons are a late-game investment. Do not rush them before your crafting chain can support the ammo or cells.
Heavy and special weapons
- Grenade Launcher: area damage, dangerous in small rooms.
- Acid Gun: a specialised damage tool.
- Egg Launcher: exactly what it sounds like.
- Flare Gun: light and signalling as much as damage.
- Grab Laser / Extendable Glove: utility tools that also fight.
Special weapons are fun but ammo-hungry. Carry one, not three.
Melee
Melee tiers run through copper, bronze, iron, steel, bornite and jewel materials, with swords, spears, hammers and shields. Named picks include the Bone Club, Ghost Blade, Entropy Blade and Energy Glove.
Melee is for:
- Saving ammo on trash enemies.
- Fighting in tight caves where ricochets are a risk.
- Finishing a boss weak point when you are already close.
Do not build a melee-only character for boss fights. The game's bosses punish standing in range.
The progression path
Early game
- Craft the Basic Work Table.
- Make a copper or bronze melee weapon.
- Craft the 9mm Pistol or a basic rifle.
- Build the Ammunition Press when you can.
- Keep a Bone Club or cheap melee backup.
Your first priority is a reliable ranged weapon and enough ammo to explore. Do not spend rare ore on a sidegrade.
Mid game
- Upgrade to iron or steel tools.
- Craft the Assault Rifle or Lever Action Rifle.
- Build the Blast Furnace for steel production.
- Add a Combat Shotgun for caves.
- Start collecting energy weapon materials.
The Blast Furnace is a major gate. Its recipe costs 12 iron ingots, and it smelts twice as fast as the Draft Furnace. Build it before you mass-produce steel weapons.
Late game
- Craft energy weapons and the Laser Pistol Mk2.
- Build the Carbon Nanotube Processor for advanced materials.
- Upgrade armour alongside the weapon.
- Specialise one boss loadout and one exploration loadout.
Do not neglect armour while chasing weapons. A better gun does not save you from a 50-damage mech punch.
Best weapons by role
Best general-purpose gun
The Assault Rifle. It is accurate enough for caves, automatic enough for packs and common enough to keep fed.
Best boss burst
The Burst Rifle or a charged energy weapon. Boss weak-point windows are short; you want damage in three seconds, not a thirty-second sustain.
Best cave weapon
The Combat Shotgun. Corridors remove its range weakness and let it hit multiple enemies.
Best early backup
The 9mm Pistol. Cheap ammo, fast handling, always useful.
Best melee
A steel-tier sword or the Ghost Blade, depending on your materials. The Ghost Blade is a late-game pick with a strong identity; the steel sword is the reliable workhorse.
Best utility weapon
The Grab Laser or Extendable Glove. They solve traversal problems and save inventory space.
Ammo and logistics
- Craft ammo in batches, not one at a time.
- Keep one ammo type per weapon; do not carry three guns that eat the same scarce round.
- Use the Ammunition Press for volume.
- Energy weapons need their own supply chain; do not switch to energy before you can sustain it.
- Explosive ammo is for emergencies, not general clearing.
The crafting guide→ covers the production buildings, and the resources guide→ covers the ore chain.
Weapon loadouts
Exploration loadout
- Assault Rifle or Lever Action.
- 9mm Pistol.
- Steel melee weapon.
- Grab tool.
Cave loadout
- Combat Shotgun.
- Pistol backup.
- Melee weapon.
- Light source.
Boss loadout
- Burst Rifle or energy weapon.
- High-capacity sidearm.
- Melee backup.
- Food and healing.
Co-op loadout
- One player brings sustained damage.
- One player brings burst and utility.
- Both carry their own ammo and food.
The co-op guide→ covers role splitting.
What 1.0 fixed
The 1.0 patch notes list several weapon fixes:
- Burst Rifle three-round burst.
- Bionic Arm melee speed bonus.
- Energy Glove secondary attack.
- Explosive and Ant Goo arrows.
If you played Early Access and a weapon felt broken, test it again. The current build is not the old one.
Common weapon mistakes
Chasing rarity. A familiar steel rifle beats an unfamiliar energy weapon with no ammo.
Ignoring the workbench chain. You cannot craft the best guns without the intermediate tools and hammers.
Selling ore. Every tier of weapon depends on the ore you just sold.
Fighting bosses with a shotgun. Unless the weak point is in your face, the range is wrong.
Forgetting the melee backup. Reloading is not a defence.
Which weapon should you craft first?
Craft the best ranged weapon your ammo supply can sustain, then upgrade melee, then armour. The armor guide→ explains the defensive side, and the bosses guide→ explains which fights reward burst.
Official source: official wiki weapon and recipe indexes, Steam store page and Updates 25-27 patch notes, checked 10 November 2026. Damage values are not published on the wiki pages; this guide avoids inventing them.
Sources and further reading
- Official wiki weapons ↗ - 197 weapon entries
- Official wiki recipes ↗ - crafting ingredients
- Update 27 patch notes ↗ - weapon fixes
- Steam store page ↗ - game overview
FAQ
What is the best weapon in Signs of Life?
There is no single best weapon. The Assault Rifle is the best all-rounder, the Burst Rifle is best for boss windows, and the Combat Shotgun is best in caves.
How do I get better weapons?
Craft them through the workbench chain: Basic Work Table, furnaces, hammers, then the weapon recipe. Mine the ore tier first.
Are energy weapons worth it?
Yes in the late game, once you can sustain their ammo or cells. Do not switch before your production chain supports them.
What melee weapon should I use?
A steel-tier sword is the reliable pick. The Ghost Blade and Entropy Blade are late-game options.
Related Signs of Life Guides
How armor works in Signs of Life, the best early and late sets, Ghost Hide and Energy Plate bonuses, mining suits and co-op gear priorities.
The major Signs of Life boss fights, the order to attempt them, gear checks and arena tips, plus a pointer to the Buff Mechington Mk2 strategy.
A Signs of Life crafting guide: work table tiers, furnace upgrades, hammer requirements, recipe chains and how to organise production.
Every major Signs of Life 1.0 change: the ending, Xenoid cities, colony management, rebalanced gear, controls and co-op fixes.
The Signs of Life achievement list with global unlock rates, the gemologist chain, the joke achievements and a practical completion route.
How the Signs of Life alien language works: scan inscriptions, build understanding, unlock Xenoid dialogue and extract seven archive records with AGIS.
More Signs of Life Guides
Automate a Signs of Life base with turrets, Pneumail shared storage, drone accessories and post-game colonist jobs, without wasting power.
How base building works in Signs of Life: valid room sizes, walls, doors, lighting, station layout and the mistakes that waste materials.
Choosing a Signs of Life base location: ore access, flat ground, biome hazards, story travel and the best spots for a first or late-game base.
Practical Signs of Life tips for new players: scan everything, manage stamina, build one good room, and avoid the early base traps.
A tour of Signs of Life biomes: grasslands, purple alien terrain, caves, ruins, Xenoid cities and the late-game New Earth areas.
How to beat Buff Mechington Mk2 in Signs of Life: the glowing weak points, head-tail-chest order, the three-second chest window and co-op tactics.
How Signs of Life co-op works: Steam friend hosting, drop-in play, character transfer, shared storage, PvP settings and role splits for two players.
How the Signs of Life colony works: Pioneer Station computer, room requirements, colonist jobs, Pneumail storage and new-world requirements.